• Menu
  • Skip to primary navigation
  • Skip to secondary navigation
  • Skip to main content
  • Skip to primary sidebar

Life In Pleasantville

Food, Travel, Life

  • Home
  • Travel
    • Canada
      • Ontario
      • Quebec
    • Caribbean
      • Jamaica
    • Europe
      • France
      • Holland
      • Italy
    • Mexico
    • RVing
    • Tahiti
    • United States
      • California
      • The Florida Keys
      • New York City
  • Food & Drink
  • Life
    • Divorce
    • Humour
    • Parenting
  • TV & Radio
  • Disclosure
  • Privacy
  • Contact
  • Home
  • Travel
    • Canada
      • Ontario
      • Quebec
    • Caribbean
      • Jamaica
    • Europe
      • France
      • Holland
      • Italy
    • Mexico
    • RVing
    • Tahiti
    • United States
      • California
      • The Florida Keys
      • New York City
  • Food & Drink
  • Life
    • Divorce
    • Humour
    • Parenting
  • TV & Radio

Thrift Store DIY – Upcycled Mail Holder

Thrift Store DIY

By //  by GemmaBC 3 Comments

0 shares
  • Share
  • Tweet

Are you a thrift store junkie? I am. In a big way. I have major “stop the car!” moments whenever hubby and I are driving in a new town and we pass by the local thrift shop. I just can’t help myself. You never know what kind of treasures might be lurking in there for a serious bargain.

One of my fave spots where I regularly feed my thrifting habit is Value Village (for you Ottawa folks, I love the one at Merivale and Baseline). Their prices are great, the stores are usually big and offer a huge variety of items, and everything is clean and presented nicely.

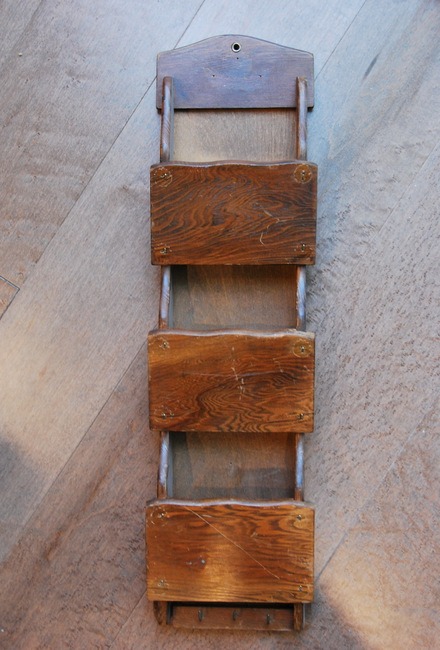
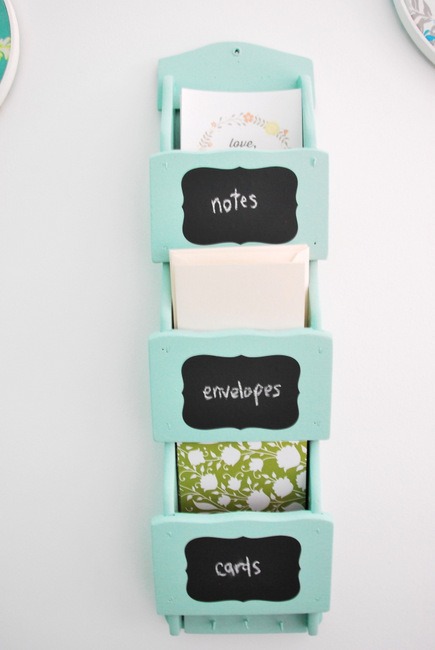
On one of my more recent trips, I came across this wooden hanger thing. I don’t really know what to call it. It has three slots for holding papers/envelopes/etc. and then some hooks on the bottom for keys or other small things. The best part? It was a grand $2.

thrift store DIY, mail holder

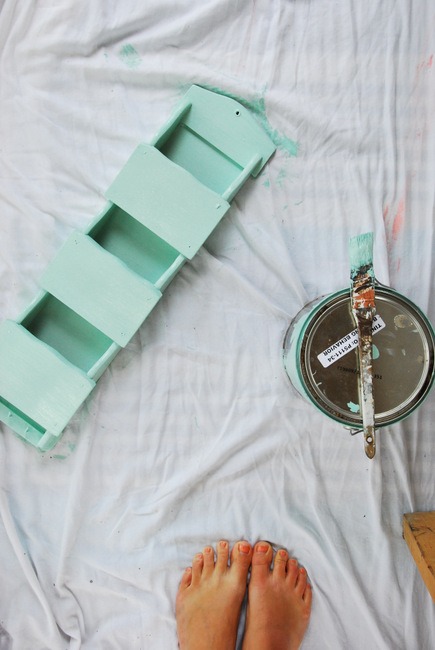
I picked it up without much thought – I’m always into anything that is going to help keep things organized. I brought it home, cleaned it off, and then decided to give it a coat of paint.

Can you guess which colour I chose? If you have been over to my personal blog before, you’ll know that I have a slight mint obsession. This bad boy got two coats of my fave PARA paint’s “Baffling Behavior” and suddenly it was looking pretty transformed.

thrift store DIY - mint green mail holder

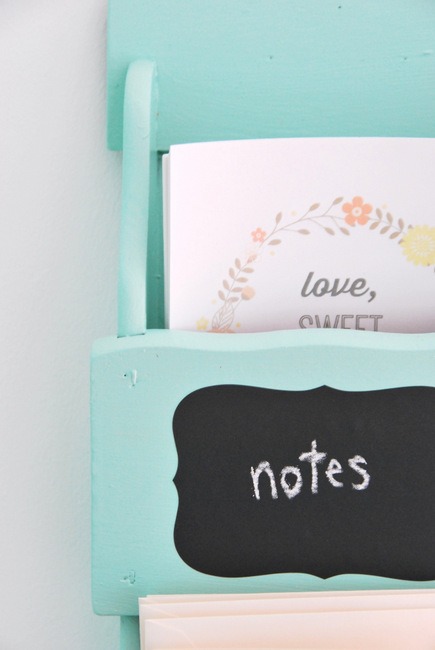
To finish it off, I used some chalkboard labels that I had grabbed from Staples (they are from the Martha Stewart line), and placed one onto each section.

Thrift Store DIY - mailholder

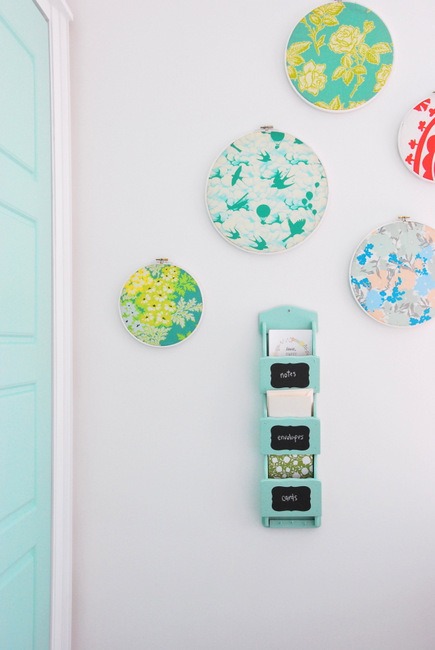
I haven’t figured out the perfect spot for this piece quite yet in our home – I’m thinking it’ll be perfect in my future office/studio – but for now I just hung it up and threw some stationary in it. Looks so cute, right? It would be a great “letters in/letters out” spot to help you organize the mail.

thrift store DIY

value village - 5


What about you guys? Are you guys thrift store junkies like I am? Come across any amazing finds lately? I want to hear all about them!

Thank You to Value Village for sponsoring this post.

vintage dishes

Share this:

  • Email
  • Tweet

Related

Filed Under: DIY, Living Tagged With: diy, mail holder, thrift store finds, upcycled mail holder, value village

About GemmaBC

Gemma Bonham-Carter, author of the popular design + lifestyle blog THE SWEETEST DIGS, is a crafty, interior design loving, DIYer and mama, based in Ottawa, Canada. She has made it her mission to DIY her house into a stylishly decorated home, one project at a time (as long as coffee is involved). In 2014, Gemma and her husband undertook their most major project yet: turning their bungalow into a 3-storey family home. Join her as she chronicles the process of decorating her home and the life that happens in between projects. From DIY tutorials, crafts, decorating inspiration, room makeovers, tales of parenthood, and the occasional recipe, the blog is a great spot for an idea, and usually a laugh, too.

Previous Post: « Need Even More Fitness Inspiration? This Will Get You Off the Couch
Next Post: 9 Tips to Avoid the Back-To-School Money Pit »

Reader Interactions

Comments

  1. Alison Pentland

    August 16, 2015 at 8:31 am

    I’m at VV regularly for costume pieces and toys for my granddaughter. My best score was a Star Wars AT-AT that new costs up to $250. I paid $15 for it and every child that comes to the house is fascinated with the design and the noises. I love being able to introduce them to one of my favourite movie series.

    Reply
  2. carolinefernandez

    August 19, 2015 at 11:17 am

    Love this craft Candace – I would totally use that myself!

    Reply
    • Candace Derickx

      August 19, 2015 at 10:22 pm

      Oh wow Caroline, I’m so glad you commented because I forgot to change the author to our amazing DIY contributor Gemma, after I put the post in! YIKES. All credit for this amazing craft goes to her 🙂 Thanks for stopping by.

      Reply

Leave a Reply Cancel reply

This site uses Akismet to reduce spam. Learn how your comment data is processed.

Primary Sidebar

Connect With Us Online

  • Facebook
  • Instagram
  • Pinterest
  • Twitter

Categories

Connect with Me on Facebook

Connect with Me on Facebook
  • Disclosure
  • Privacy
  • Contact
0 shares
 

Loading Comments...