I don’t know about you, but the hardest things for me to toss at the end of Christmas are the Christmas cards that have arrived from across the country throughout the season. I know that keeping them serves no logical purpose, and I know that if I do keep them, I’ll end up like my mom with a large shoe box full of 20 years of Christmas cards in my linen closet, still I can’t help but squirrel those cards away. People that I know and love – or at least, people that I know – put hard work and effort into those cards – it doesn’t seem right to trash (or recycle) them without a second thought!
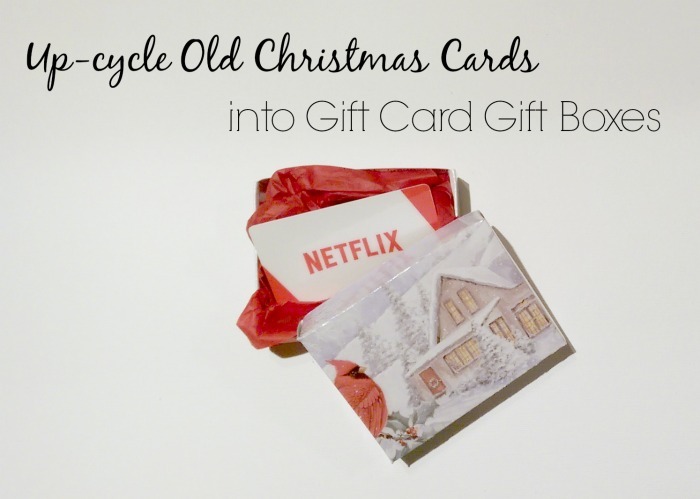
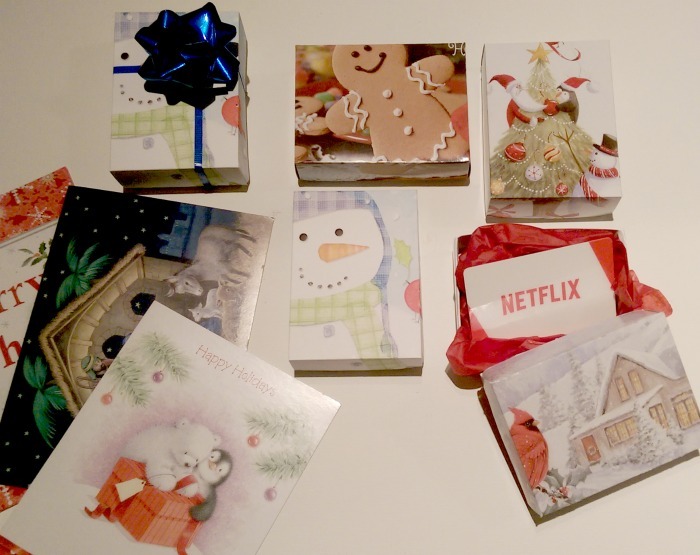
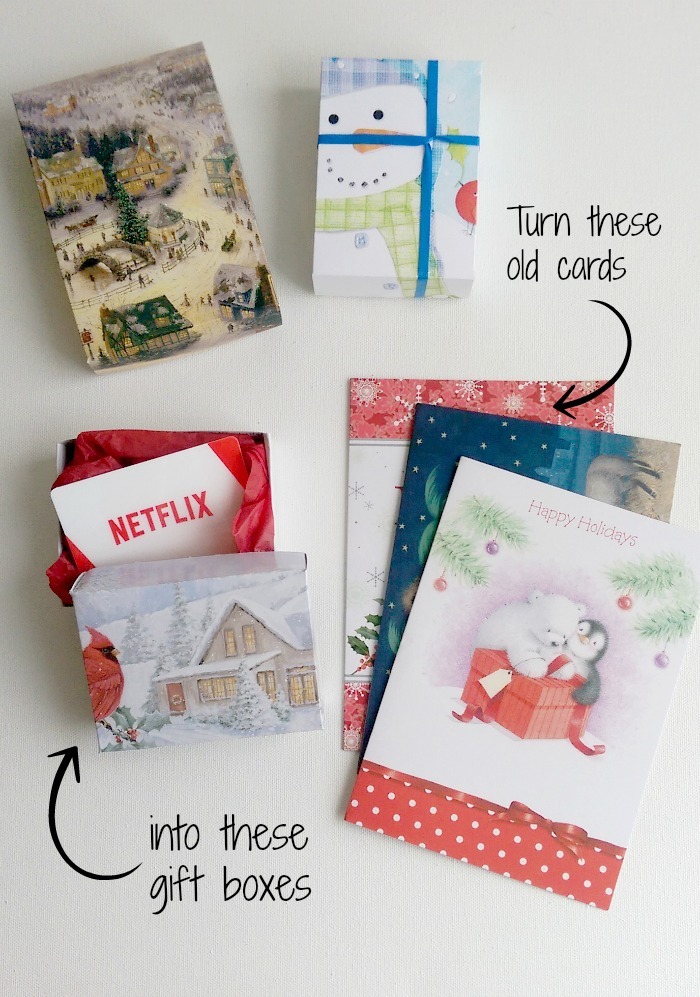
This fall, however, I remembered what it was that we used to do with those old Christmas cards when I was growing up – we’d up-cycle them into little gift boxes! While it took me a few tries to get it right again after all of these years, it’s a very simple craft and can be enjoyed by preteens and adults alike – so gather round the screen and I’ll show you how to up-cycle Christmas cards into beautiful gift boxes.
If you’re just going to make one or two boxes, there’s no need to make a template. However, this craft is extremely addictive, so I’d advise that you make a simple template from the start and save yourself all of the repeat measuring that you’d end up doing.
Supplies Needed
- 1 empty Kleenex / tissue box (or any other thin cardboard of about the same length), flattened (for the template)
- 1 ruler
- 1 pen or pencil
- Scotch tape
- scissors
- Christmas cards
Method
- Make your templates: Along the long side of the flattened tissue box, measure out 1.5″ from the side in three spots, then using your ruler, draw a line all the way down the length of the cardboard, connecting all three markings. From that line, measure another 1.5″ in three spots, repeat. From the new line, measure out 1″, repeat the steps above. From the 1″ line, measure 1″ again, and draw the final line. Once you cut along each line, you’ll end up with two 1.5″ strips and one 1″ strips. With your pen, mark one of the 1.5″ and one of the 1″ strips with TOP. Pick up the remaining two strips and cut 1/8″ off of each strip and mark them BOTTOM.
- Watch the video below to see how it’s done.
[youtube http://www.youtube.com/watch?v=QgrVc_J55d4]
Note: these boxes can be as short or tall as you like (and as the card can accommodate), just remember that the bottom template always has to be ever so slightly smaller than the top template or you won’t be able to fit the box together.
Smaller Christmas cards make boxes that are great for a more creative way to give gift cards. Larger Christmas cards are perfect for gifting a special Christmas cookie or a small batch of homemade chocolates or fudge!


 The Best Chocolate Chip Cookies