

You could say that sangria is a thing here in Pleasantville, a very big thing. We like it boozy, full of berries and even Canadian, but with the addition of this frozen sangria recipe, we’re confident we’ve finally got all our sangria bases covered. Here’s your step-by-step guide to making these slushies for adults. After all, why should kids have all the fun?

How to Make Frozen Sangria
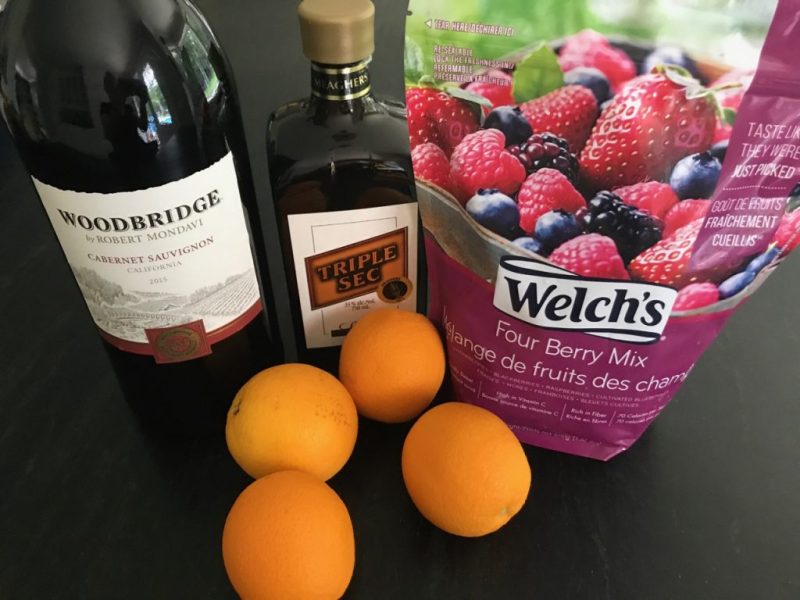
The first thing you need to gather up is your supplies and if you’re a true sangria lover, you probably have most of the ingredients on hand. I like Woodbridge Cabernet Sauvignon but you can use any red wine. You’ll also need Triple Sec, a bag of mixed berries, fresh oranges, water and sugar (see exact amounts on recipe card).

You’re going to mix everything in a large bowl and then you’ll start to question if you even want to proceed to the frozen part. As tempting as it is to stop here and just start enjoying it, trust me when I say the wait is worth it. Let the mixture chill for a minimum of four hours in the fridge.

Once your sangria has had time to chill, remove orange slices and pour mixture through a fine mesh sieve into another bowl and press berries to extract any remaining juice. DO NOT WASTE A DROP; there’s wine in them berries. Once you’ve pressed your berries to a pulp, you’ll want to pour into two rectangular containers with lids. Place containers in freezer and then wait.

Check your Frozen Sangria every hour, and run a fork through it, it will eventually start to get slushy. When totally frozen, run a fork through it to break it up.

And now your patience is ready to be rewarded. Scoop your frozen sangria into glasses and serve with fresh orange slices. You can use spoons to scoop it up, or you can let it get a little melt-y and sip on it. Either way, you’re going to love this twist on sangria.

[yumprint-recipe id=’104′]

 Four Freezer Friendly Chicken Marinades You’ll Love